
Pi Agent Zero-to-One: From Opening Terminal to Completing Your First Verifiable Task
What is the most crucial skill for beginners when encountering a terminal-based Agent for the first time?
It is not memorizing obscure shell commands or complex model abstractions, but learning how to manage materials, direct tool actions, and independently verify tangible outputs.
This tutorial accomplishes one complete, real-world task: placing a simulated meeting note inside an isolated demo folder, having Pi read it, and generating an action checklist. After execution, we don't rely on the Agent's natural language summary as proof—we independently verify the original file's hash, output existence, assignees, and deadlines from the CLI.
01|What Can Pi Agent Do for Everyday Work?
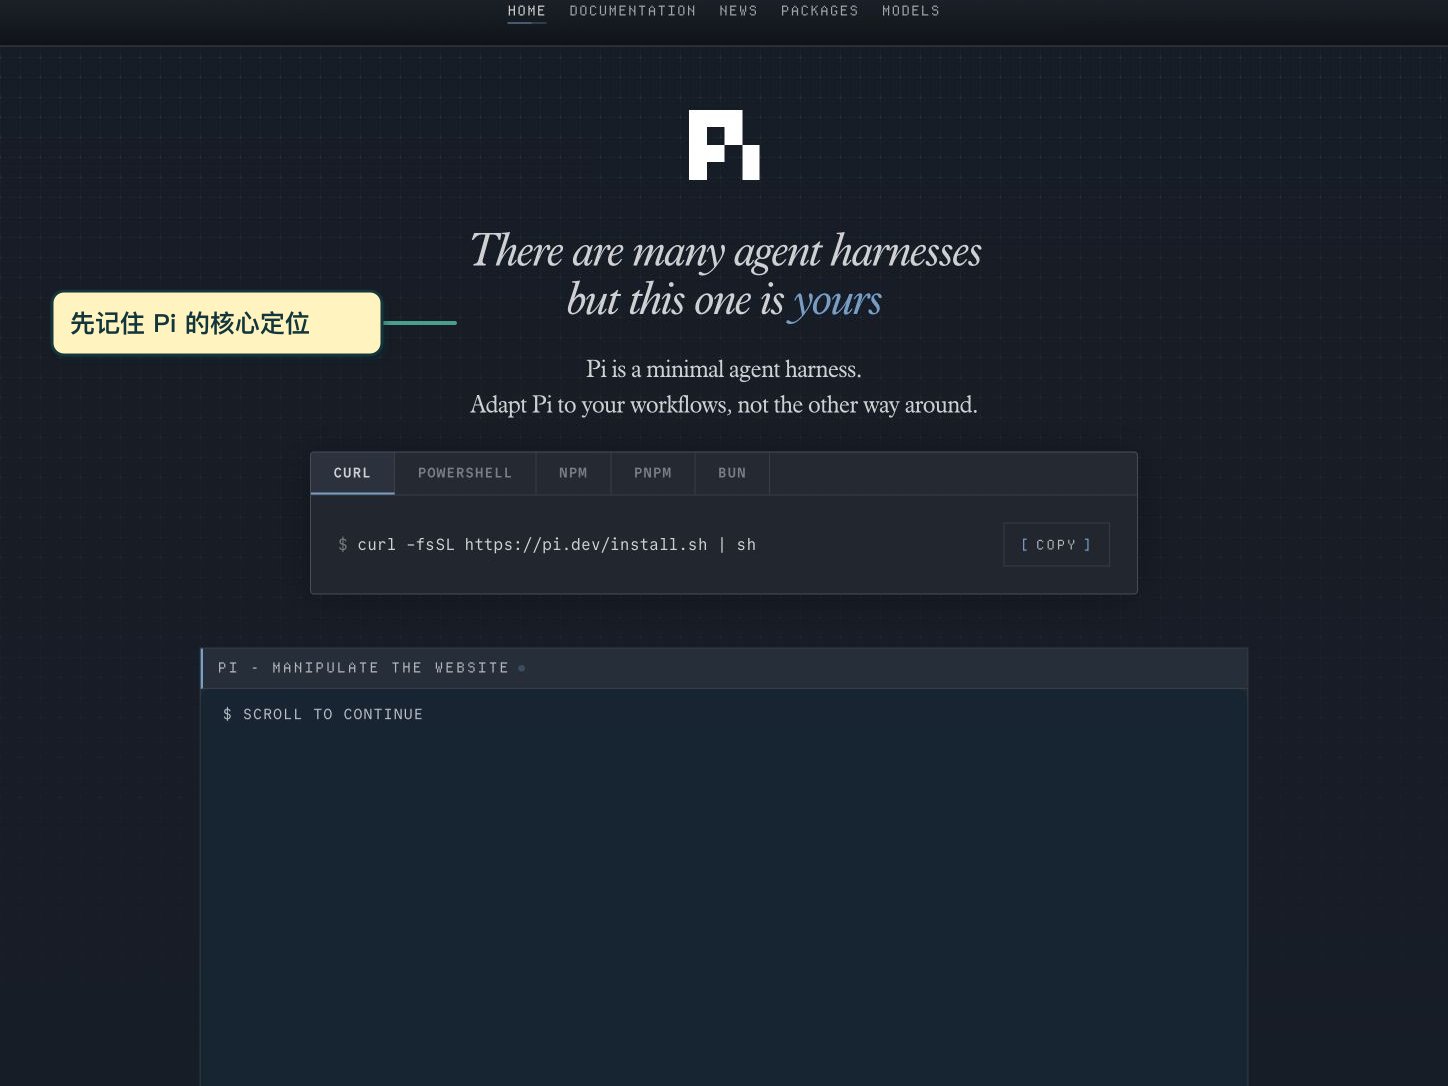
Pi is an autonomous Agent that runs inside your terminal. You launch it within a specific working directory, where it can read, write, edit files, and execute local shell commands to accomplish tasks.
1. Local Agent vs. Cloud Model
The Pi CLI engine executes locally on your machine with your user permissions, while the reasoning LLM can be accessed via cloud APIs or local providers.
2. Hands-on Execution Loop
Unlike web chatbots that require manual copy-pasting, Pi reads input/notes.md directly and writes the formatted result to output/checklist.md.
02|Installation, Version Verification & Authentication
Step one begins before launching the CLI: creating a dedicated sandbox practice directory to isolate input and output.
mkdir -p ~/Downloads/Pi-Agent-Demo/output
cd ~/Downloads/Pi-Agent-Demo
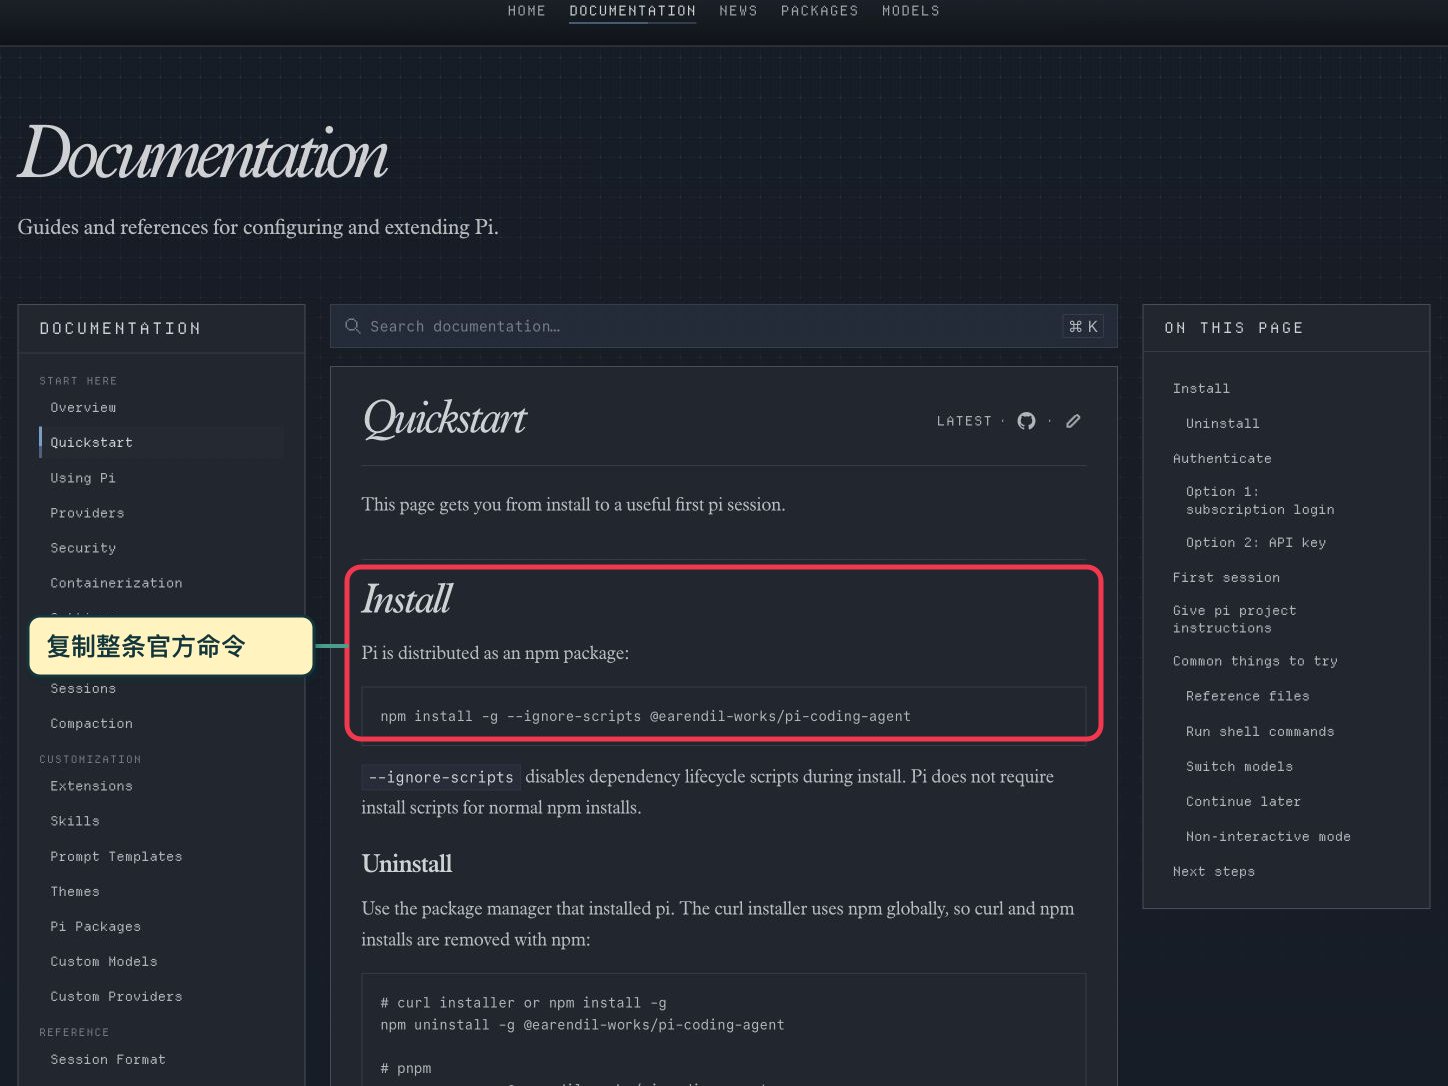
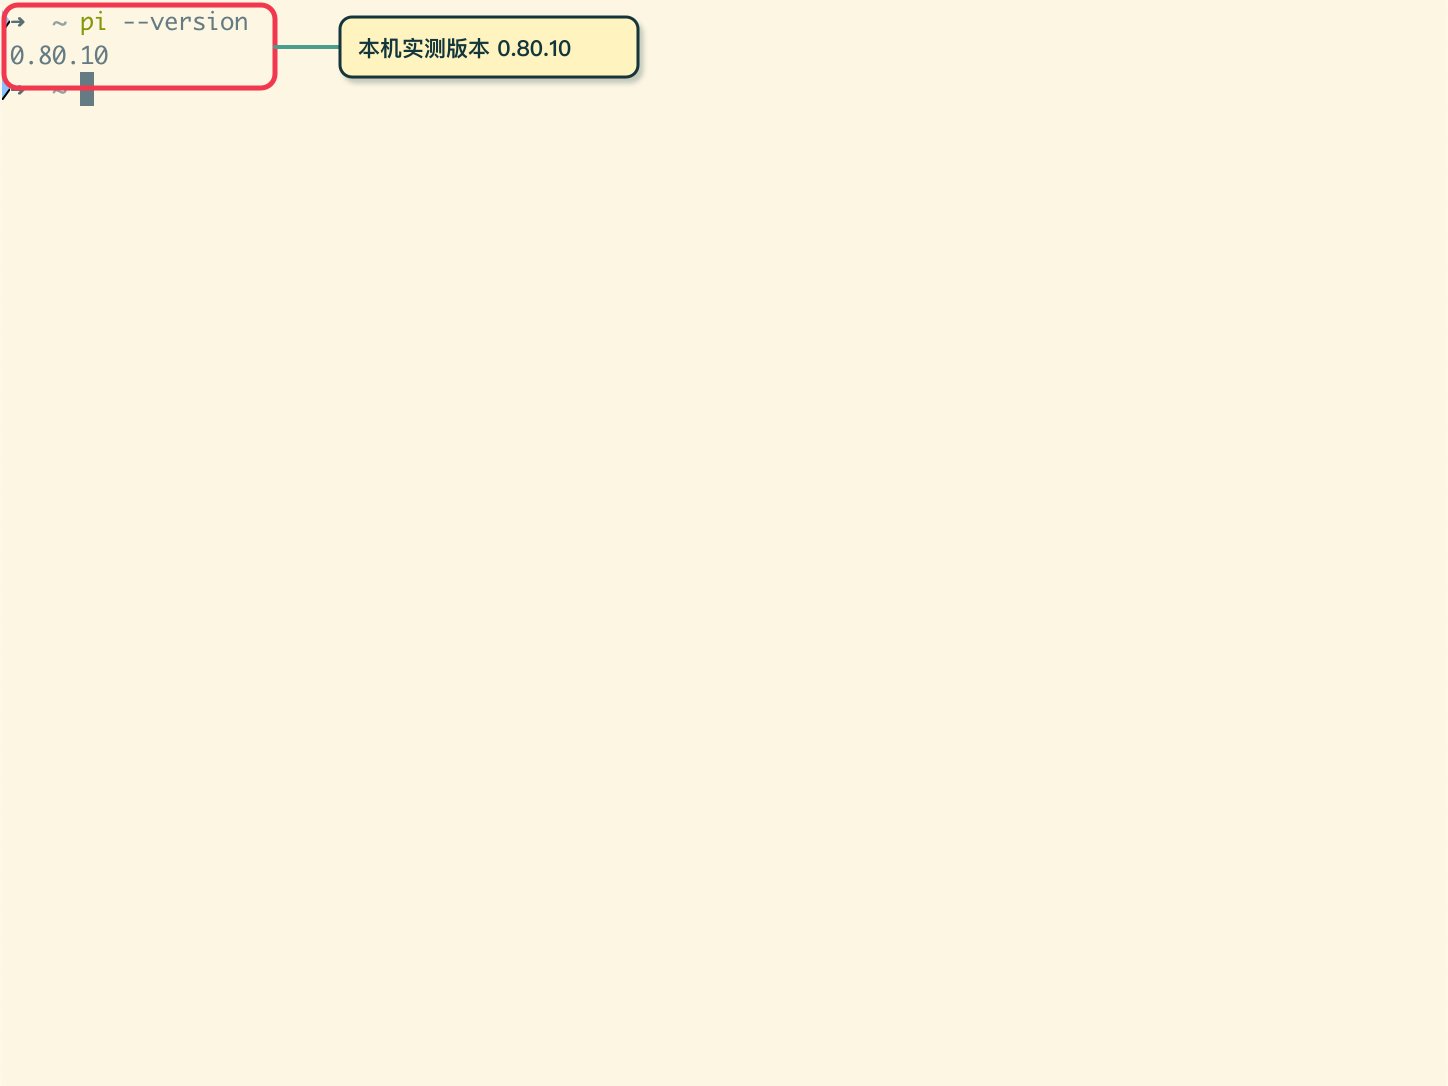
Install Pi globally via npm (official Quickstart command):
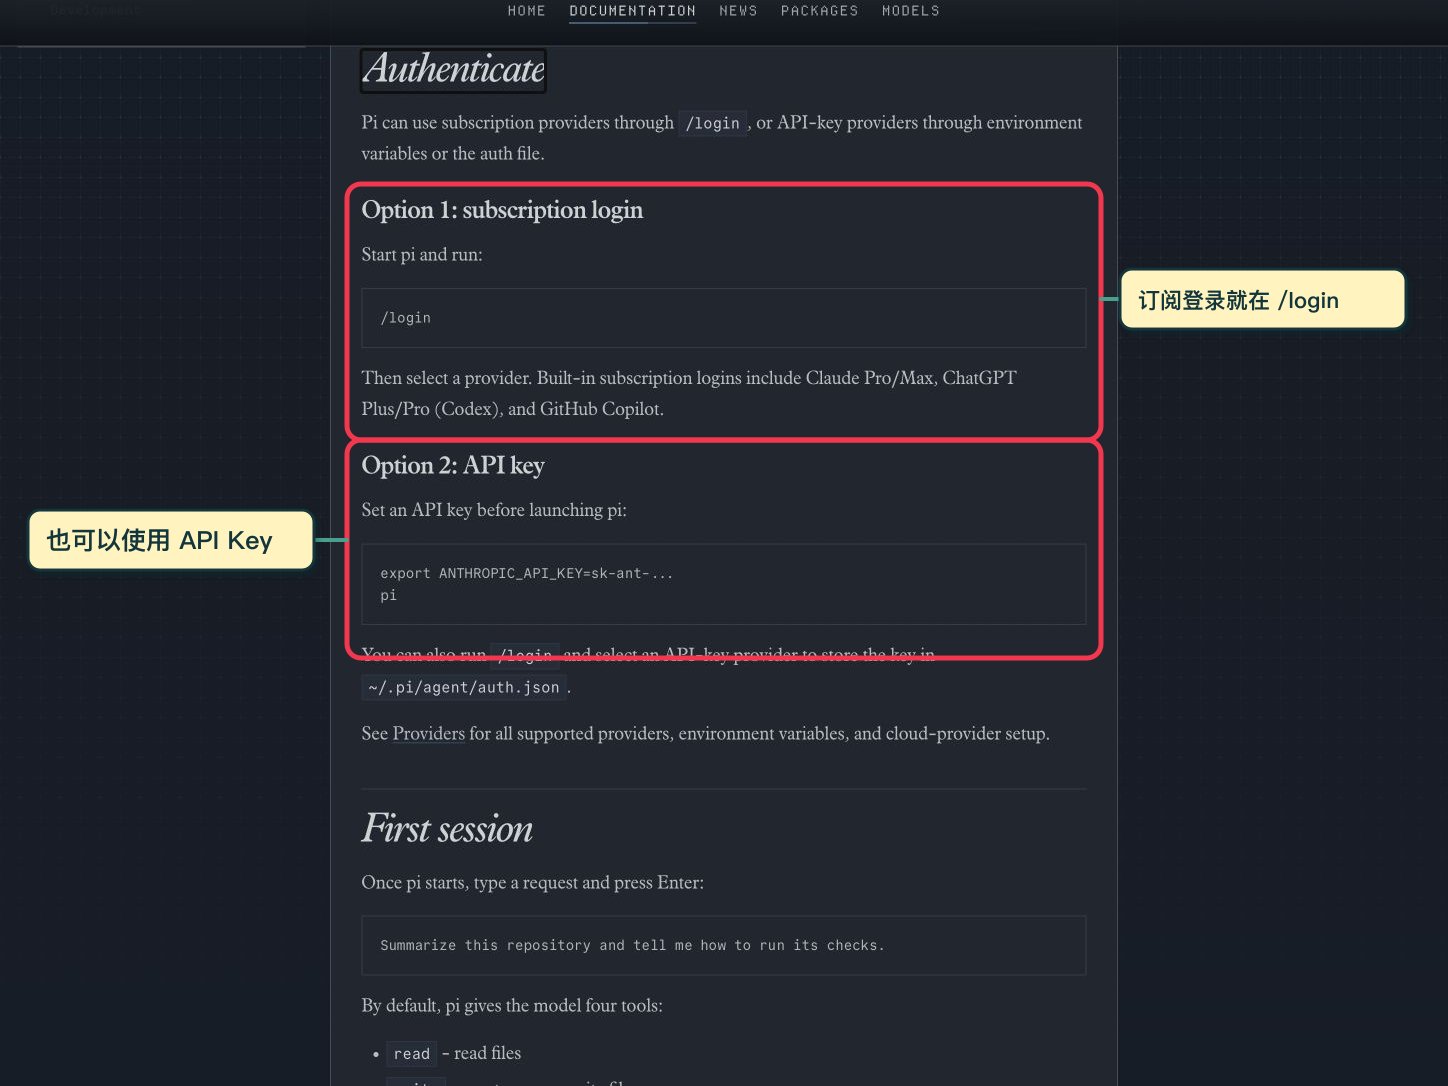
Authenticate using either your existing subscription (/login) or provider API keys:
03|Understanding the 4 Key Terminal UI Areas
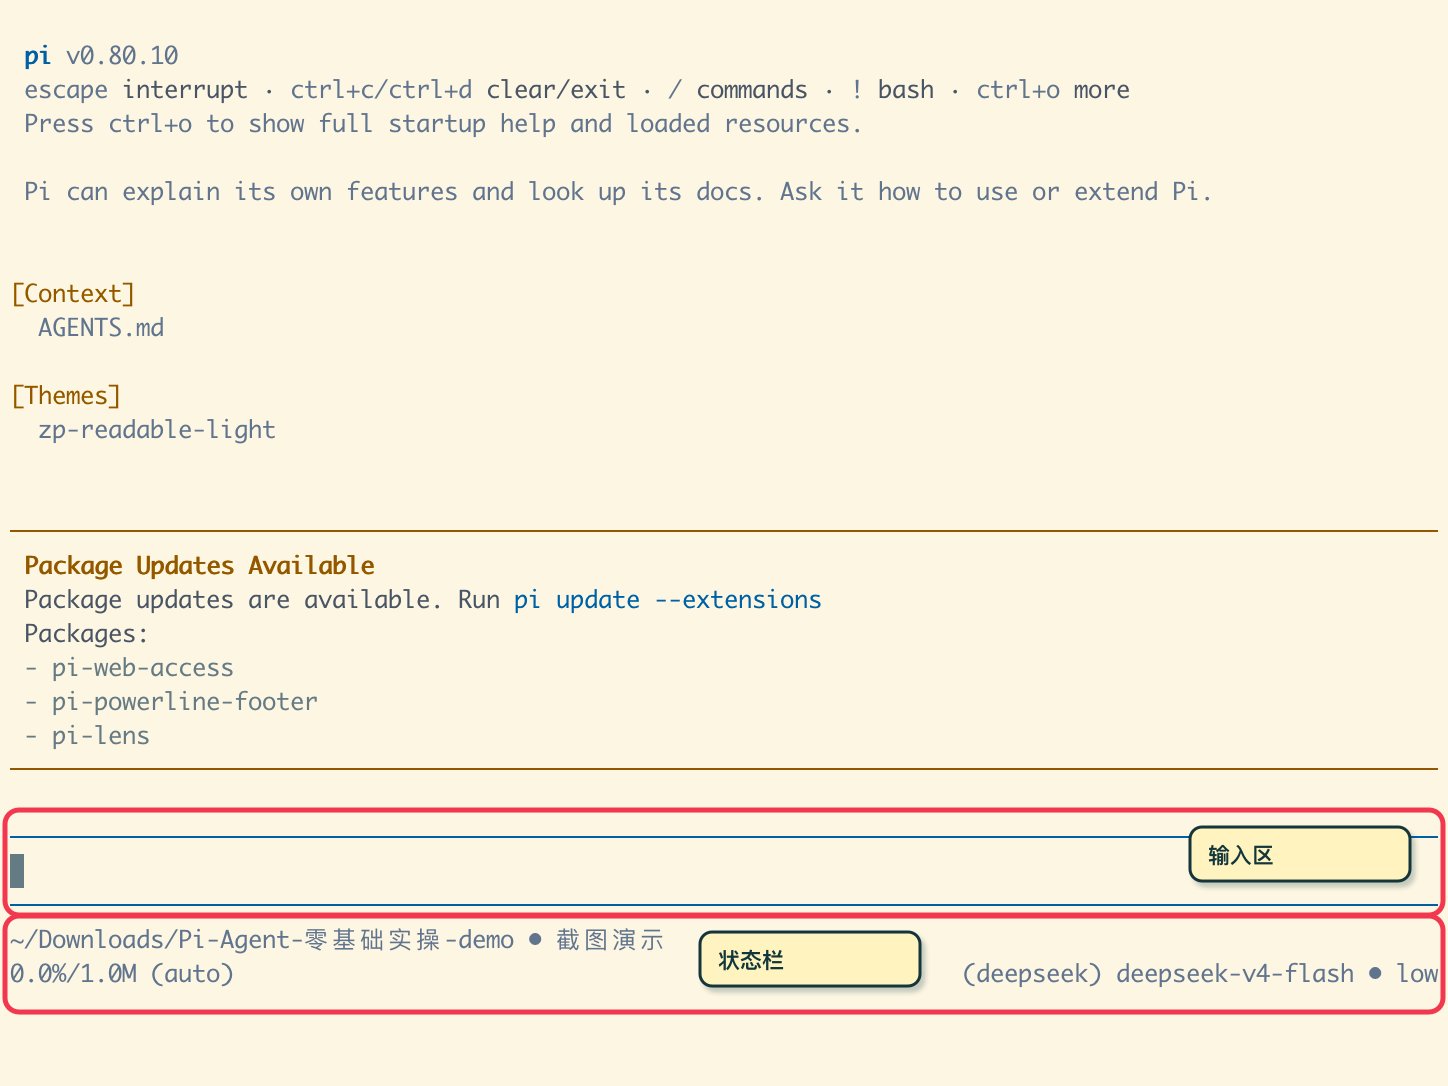
1. Header Zone
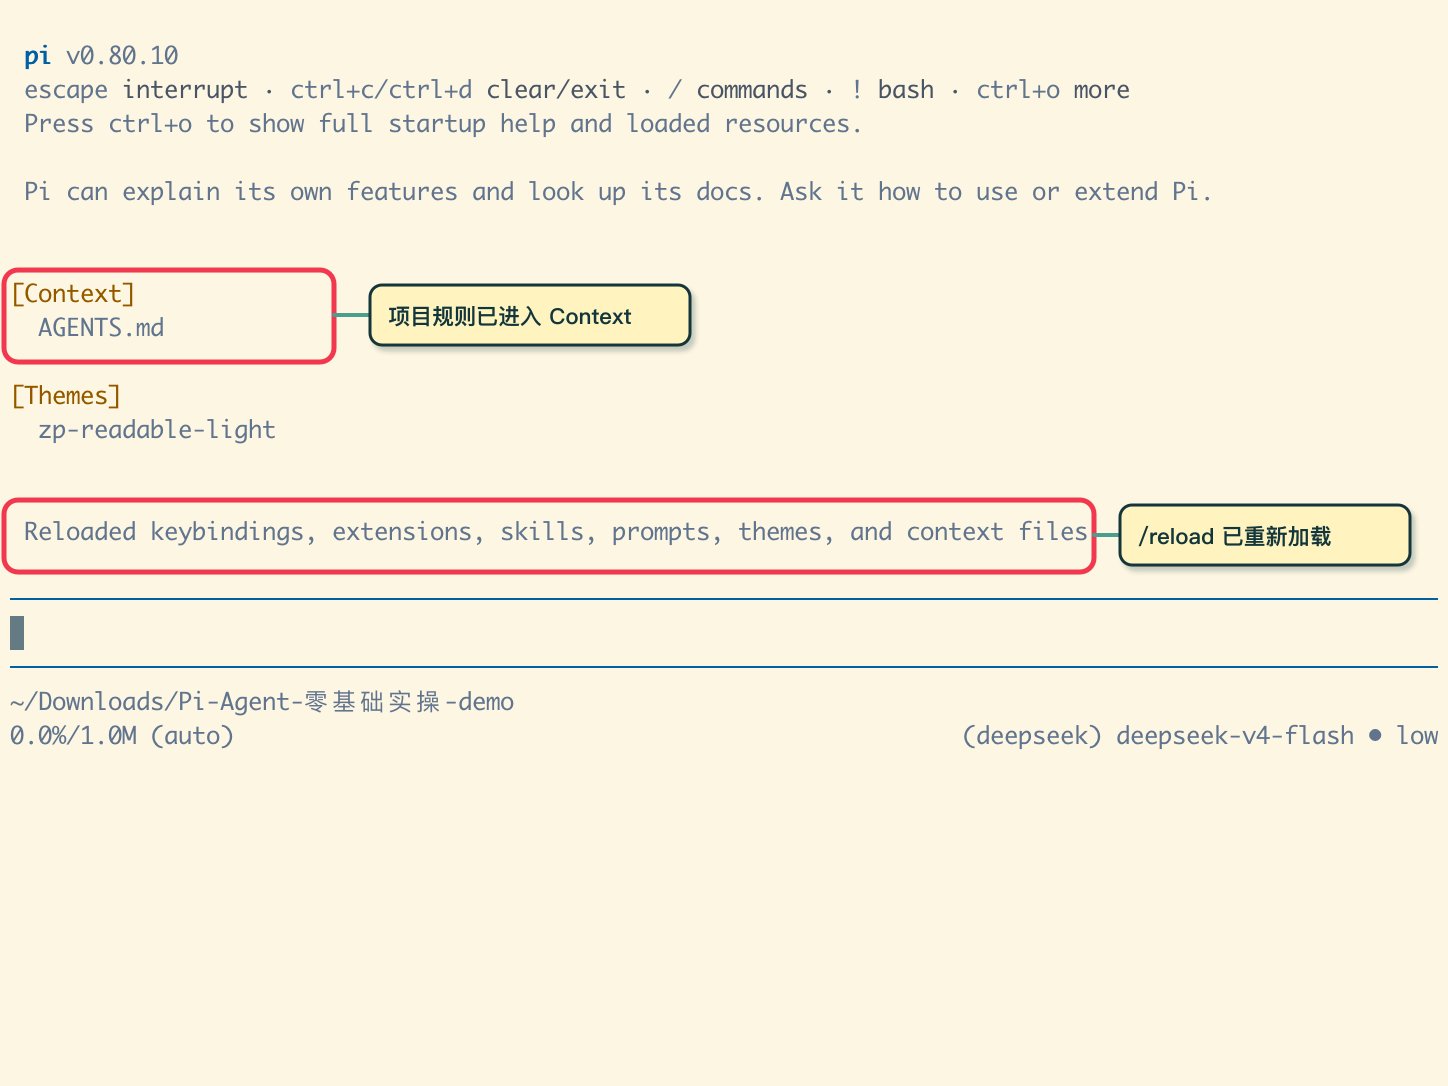
Displays version info, loaded Context (AGENTS.md), and active theme or extensions.
2. Message & Tool Stream Zone
Observes real tool calls (read, write, shell commands) rather than just chat prose.
3. Input Zone
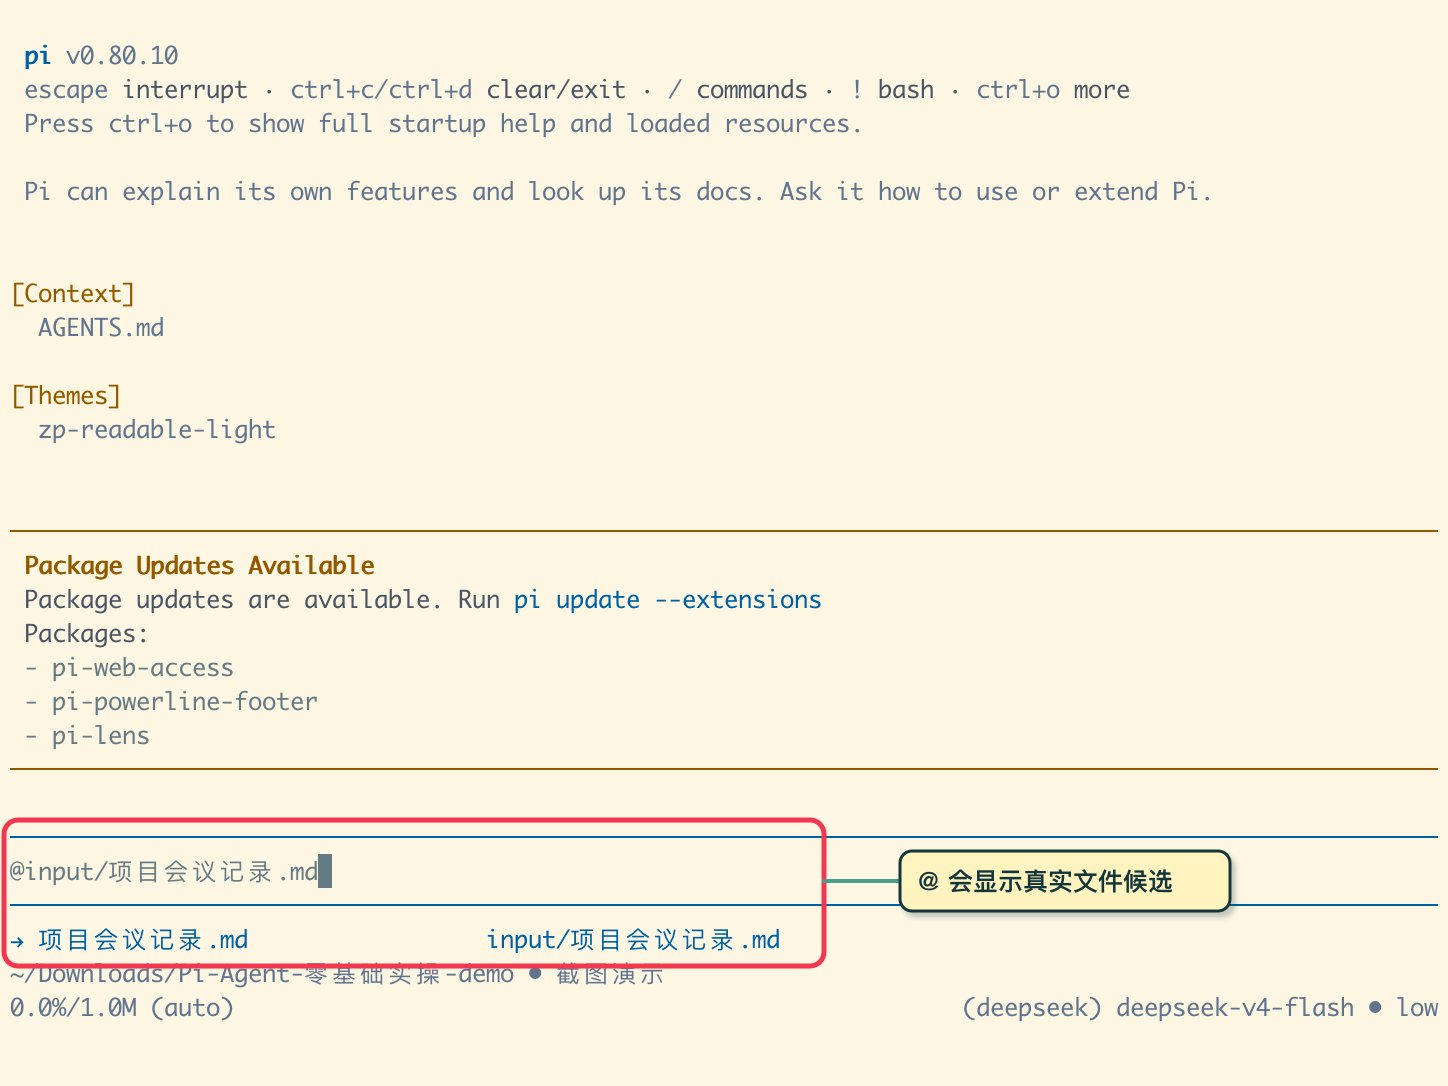
Supports @file references, slash commands, and Escape to interrupt runaway jobs.
4. Bottom Status Bar
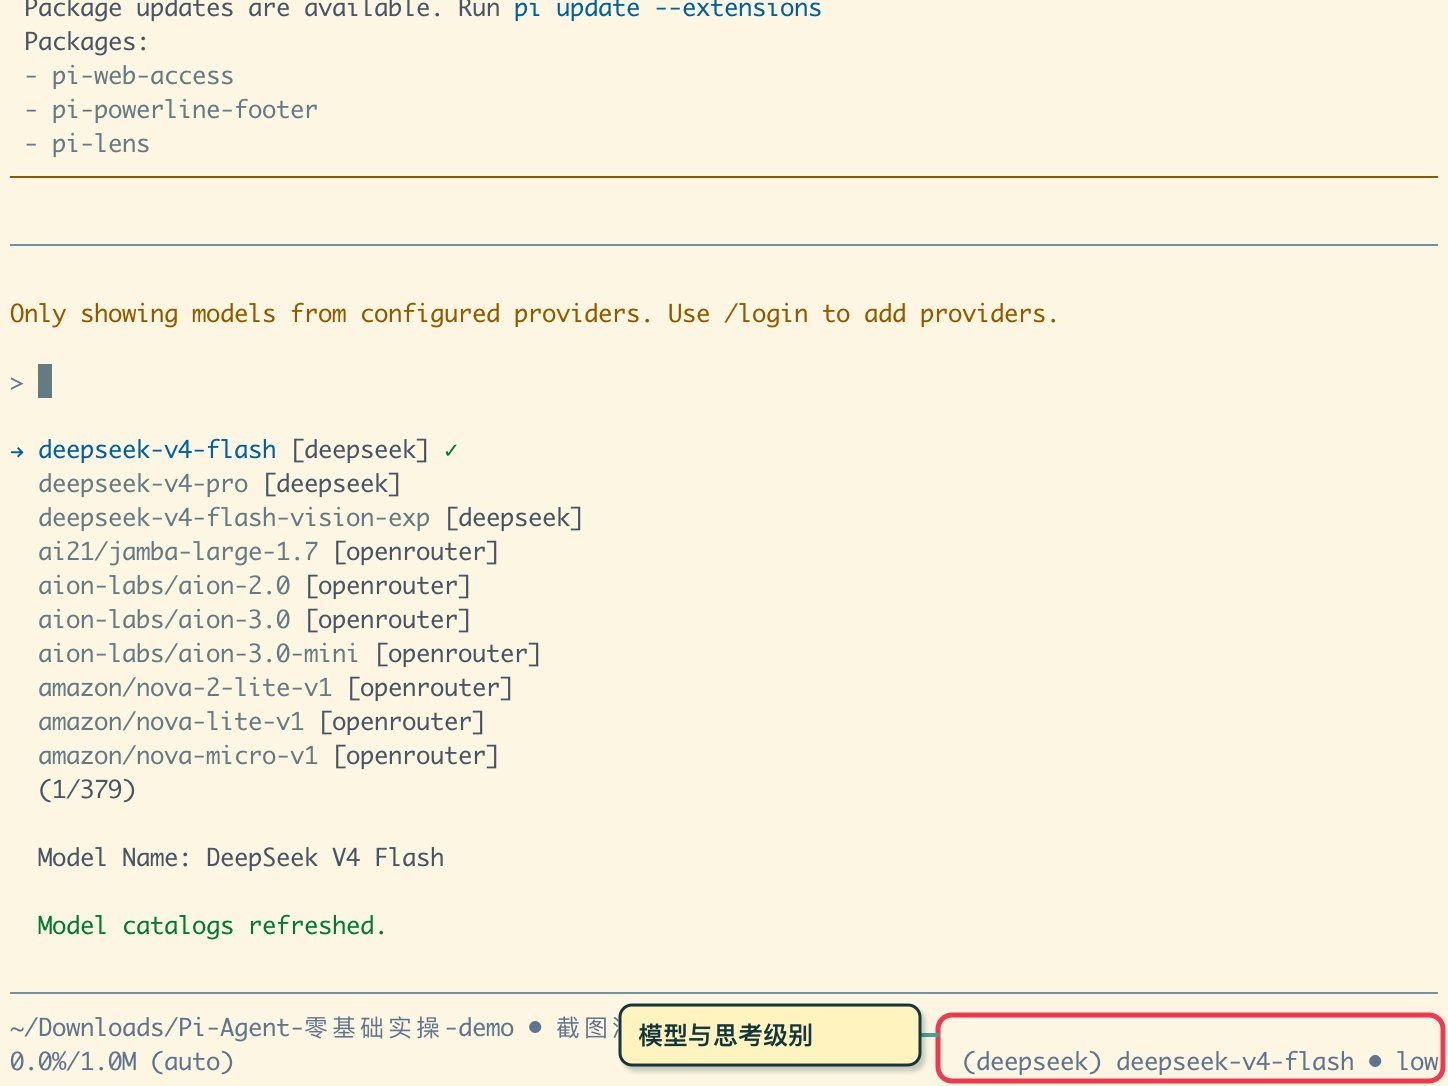
Displays working directory, active model, token cost, context utilization, and reasoning level.
04|Executing the First Verifiable Real Task
Prepare a simulated meeting record in input/项目会议记录.md and calculate its initial SHA-256 checksum:
# e1d5fce2a192e31aa5bbc676c93621f58f12f52f4b76c4ba7580c6f4fe594eca
Reference the file in Pi using @input/项目会议记录.md:
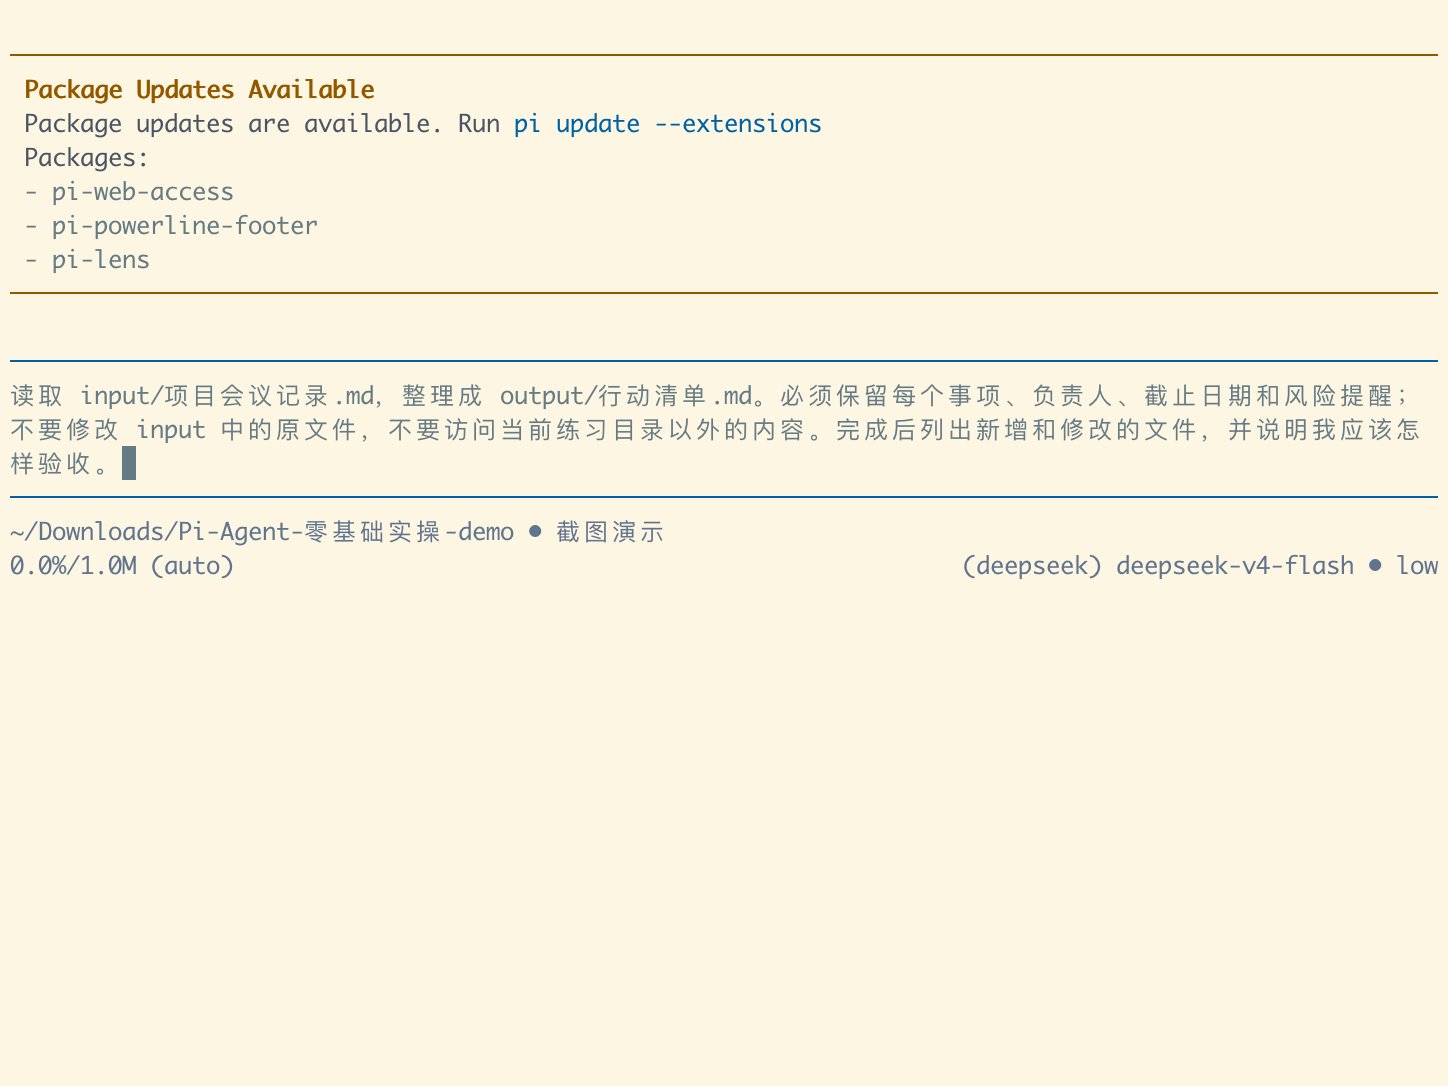
Read input/project-meeting-notes.md and organize it into output/action-checklist.md. You must retain every action item, assignee, deadline, and risk note; do not modify original files in input/, and do not access files outside the current demo directory. Once finished, list all newly created and modified files, and explain how I should verify the results.
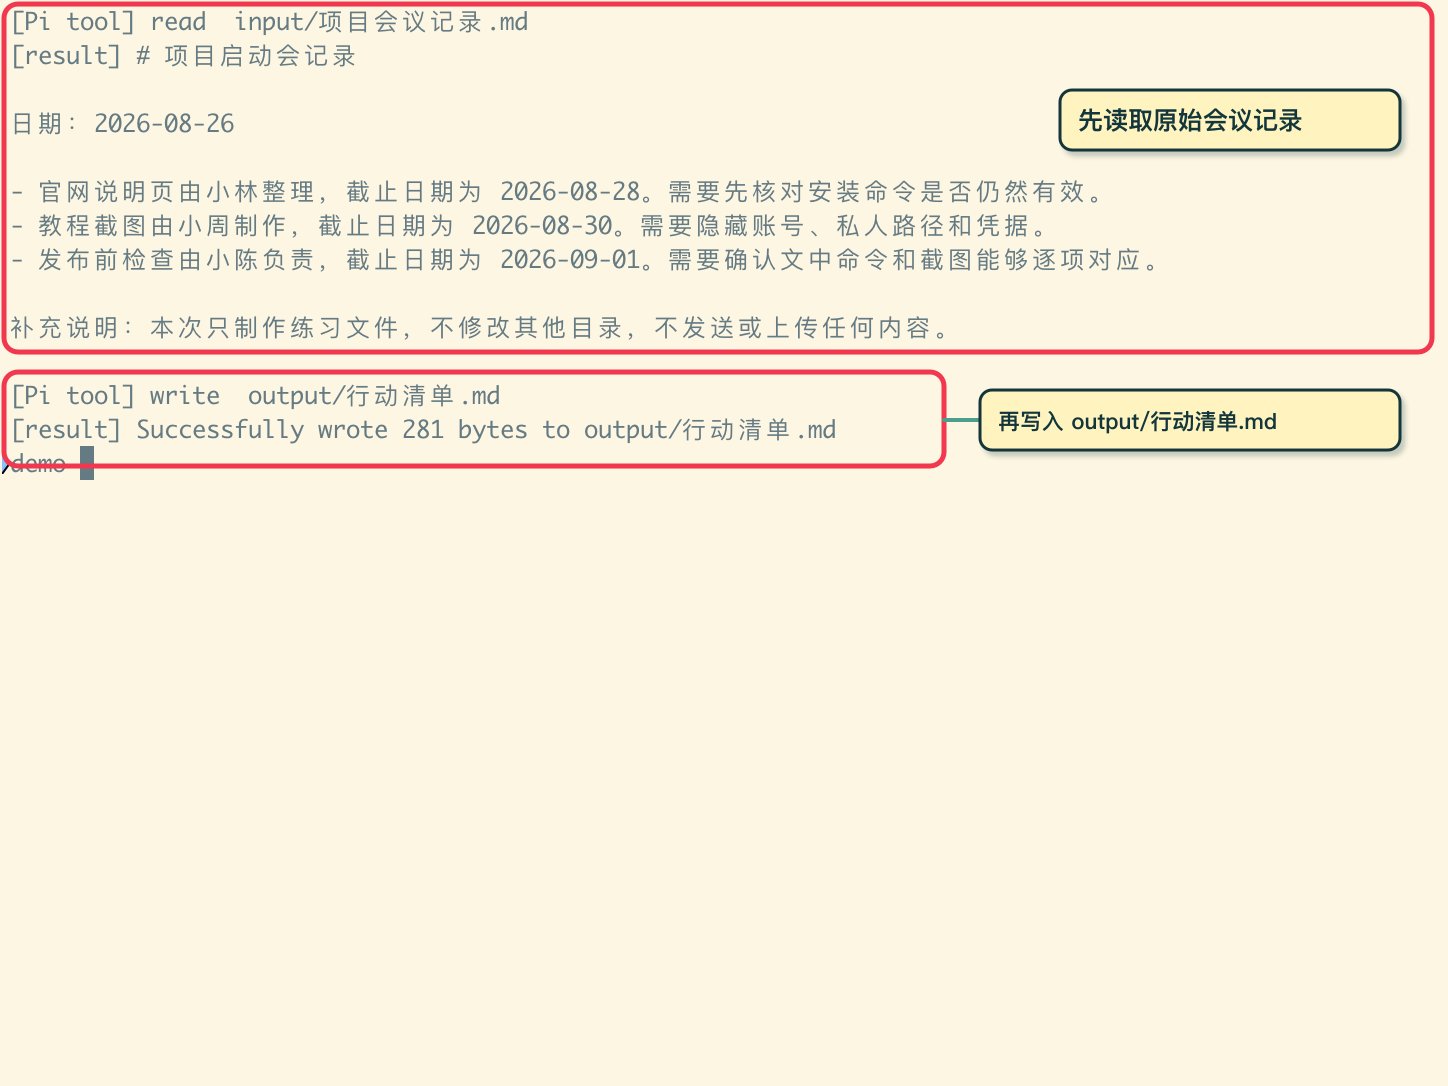
Independent 5-Point Acceptance Checklist:
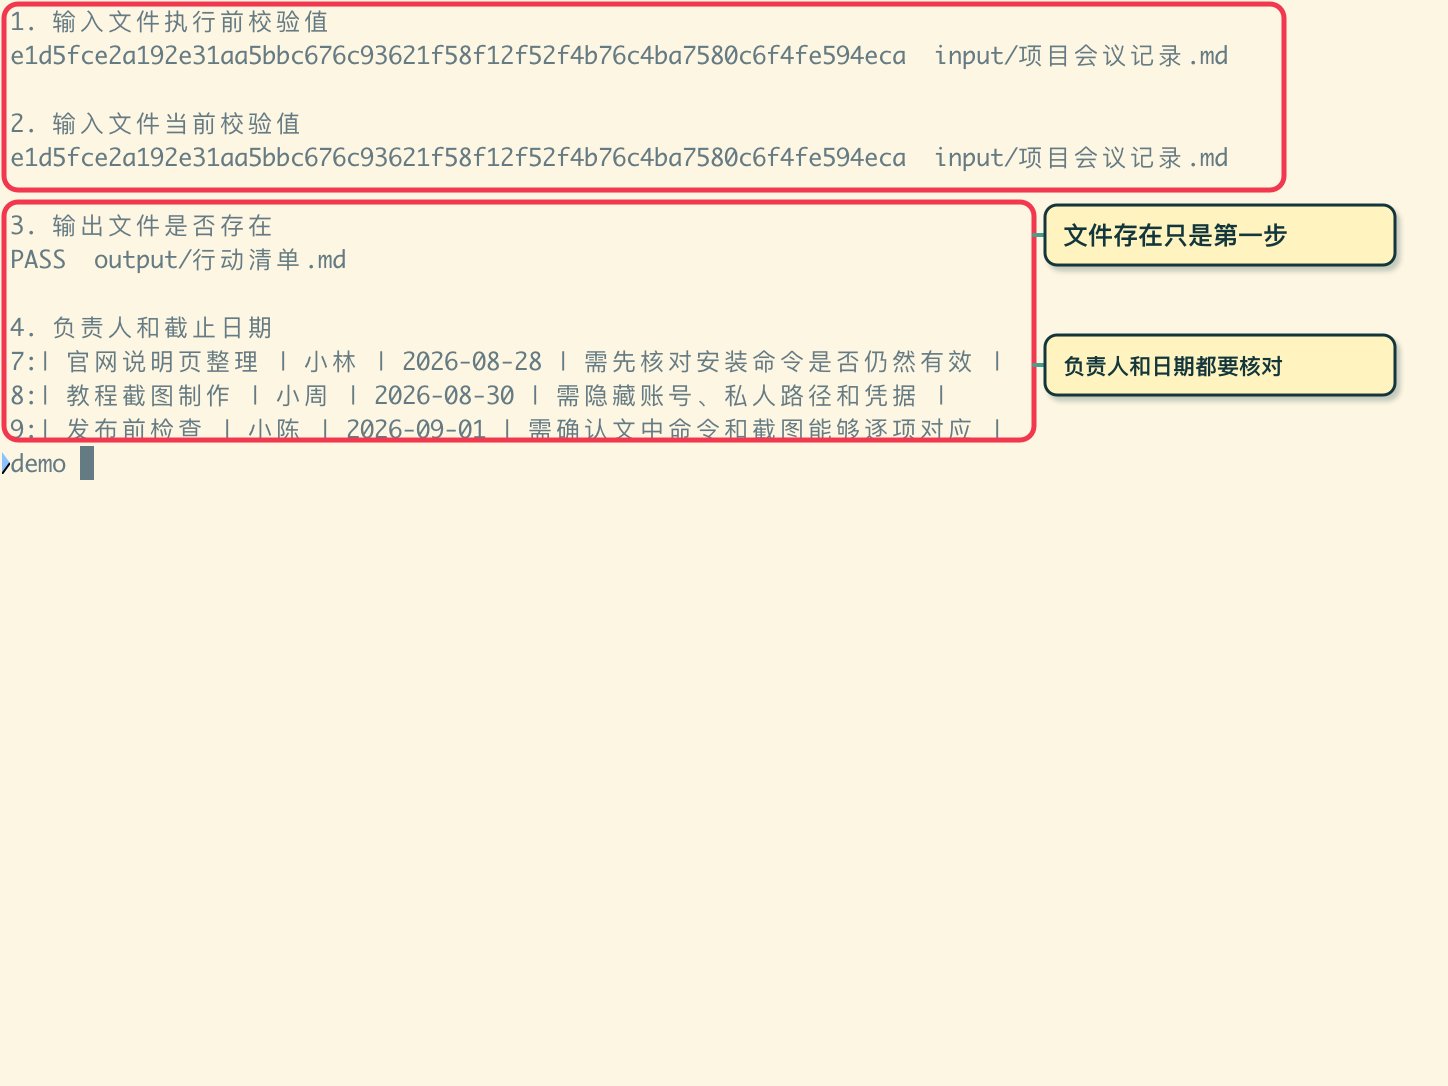
| Inspection Item | Verification Method | Status |
|---|---|---|
| 1. Input Integrity | shasum -a 256 matches exactly | PASS |
| 2. Output Existence | test -f output/action-checklist.md | PASS |
| 3. Assignees Complete | All 3 assignees accurately retained | PASS |
| 4. Deadlines Complete | All 3 dates accurately mapped | PASS |
| 5. Risk Warnings Preserved | All 3 critical caveats kept intact | PASS |
05|Managing Project Rules & Shell Commands
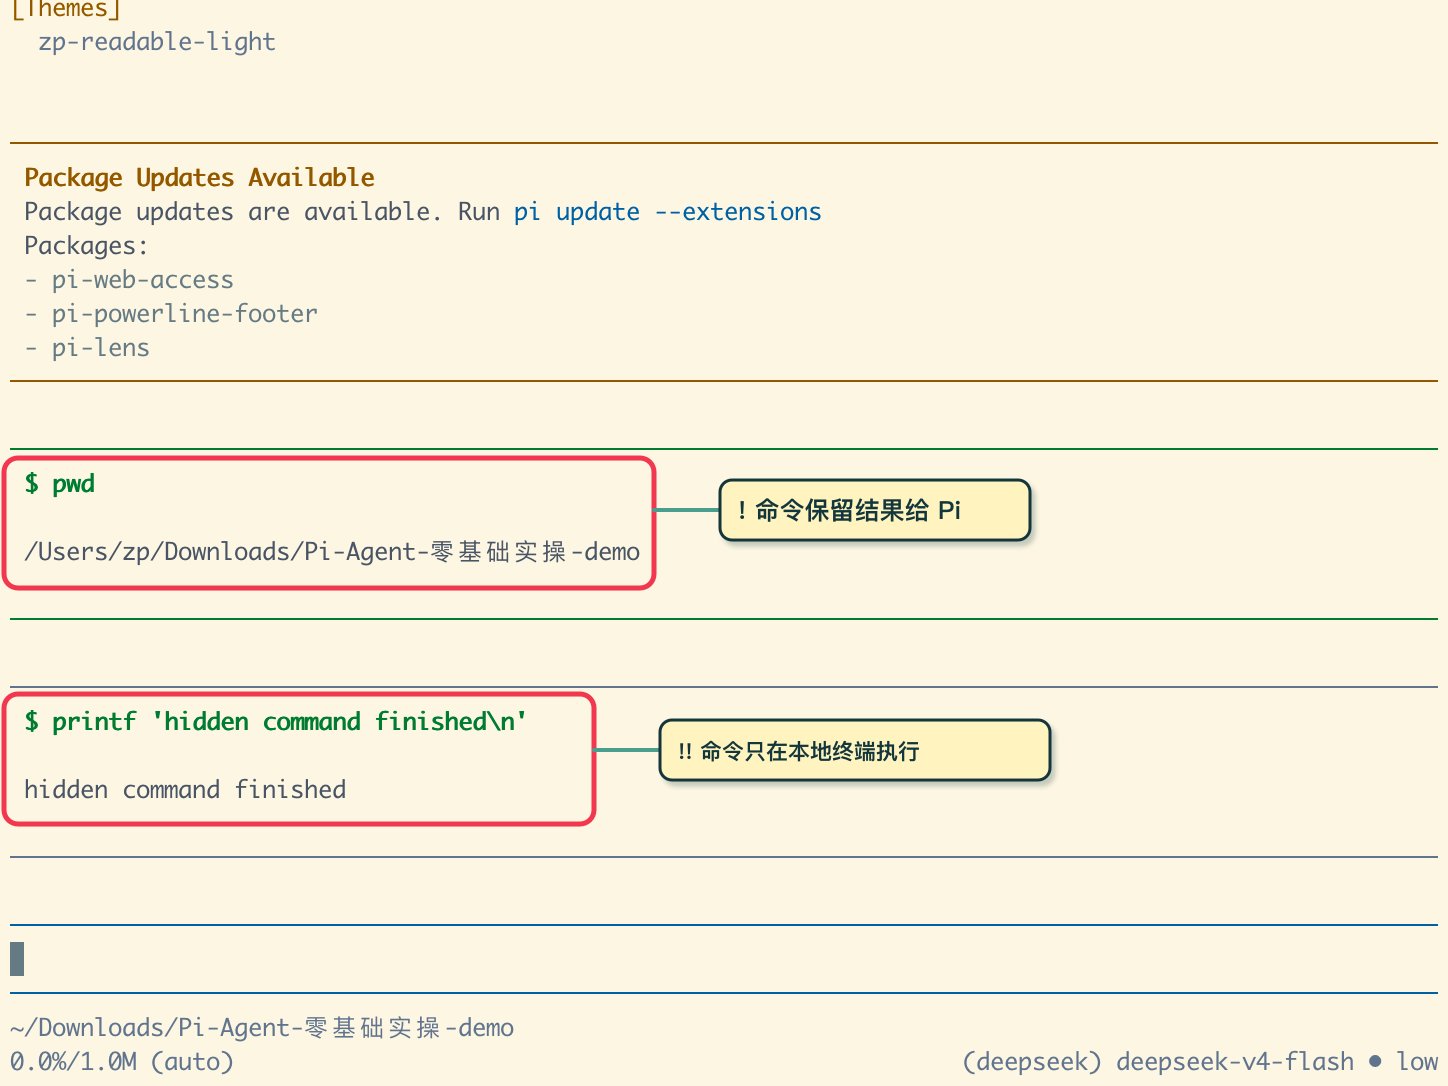
!cmd vs !!cmd
Single ! runs a command and sends output to the LLM. Double !! runs silently for your eyes only without consuming context.
AGENTS.md & /reload
Save long-term rules in AGENTS.md and hot-reload them anytime inside Pi with /reload.
06|Session Trees, Forking & Context Compaction
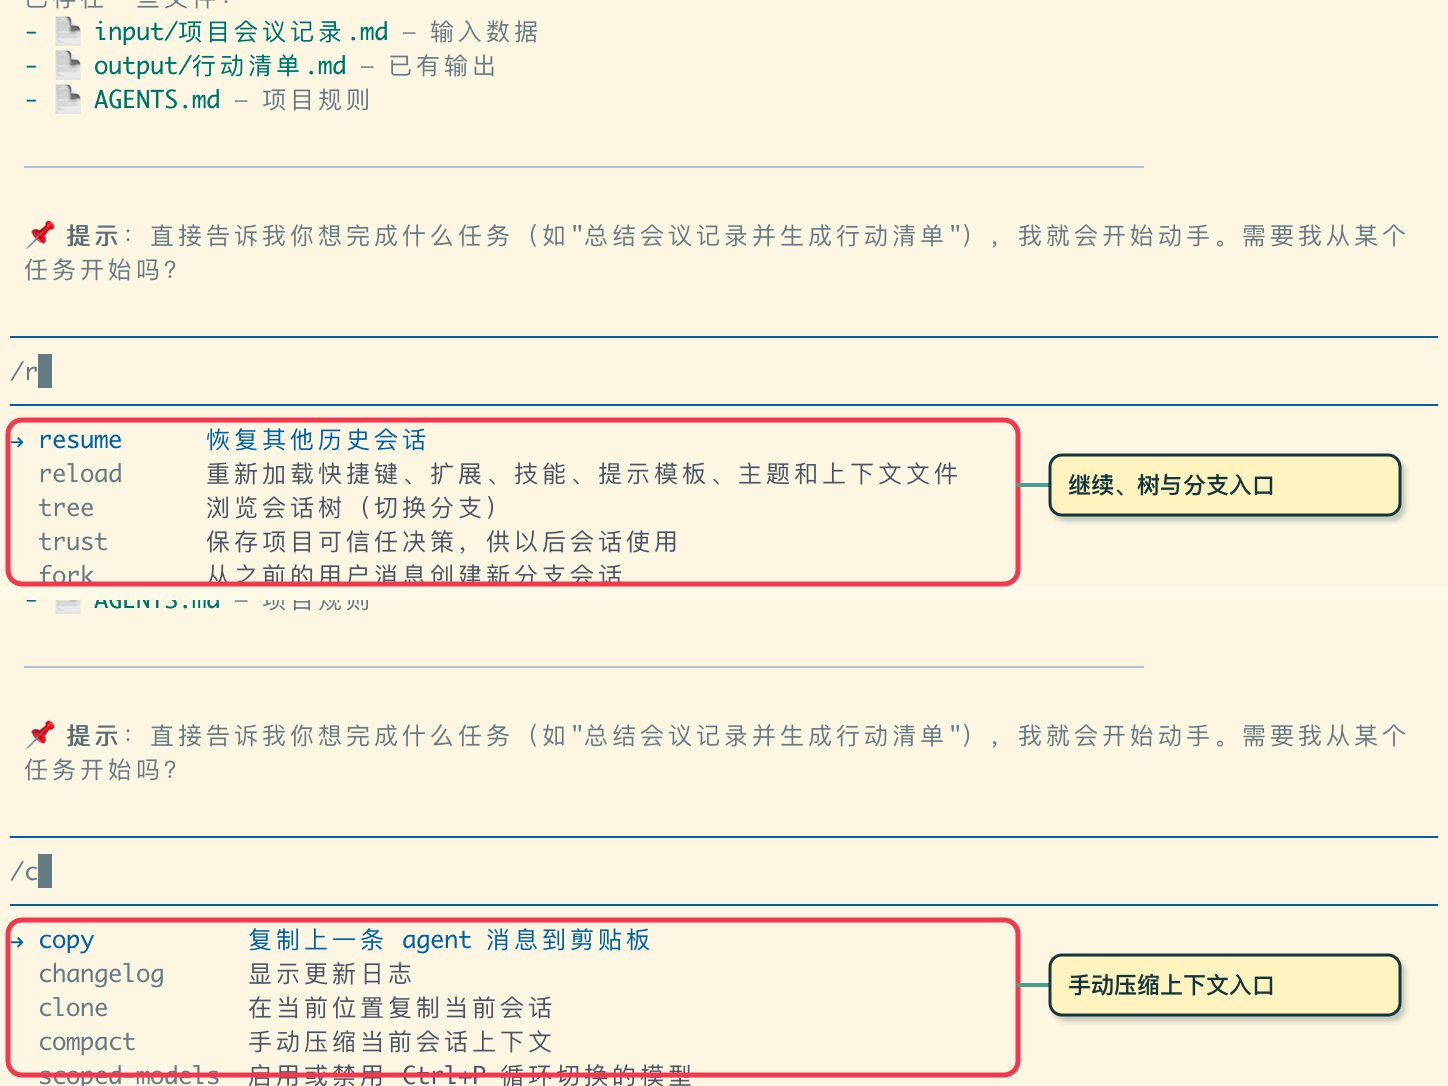
Pi provides native session tree management. Use /tree to visualize historical nodes, /fork to branch off a previous prompt without losing original context, and /compact to compress long conversation history.
Key Takeaway for Terminal Agents
Never declare a task complete based solely on conversational reassurance. True SRE-grade productivity requires a solid evidence chain: explicit material boundaries, verified tool execution, and independent filesystem validation.